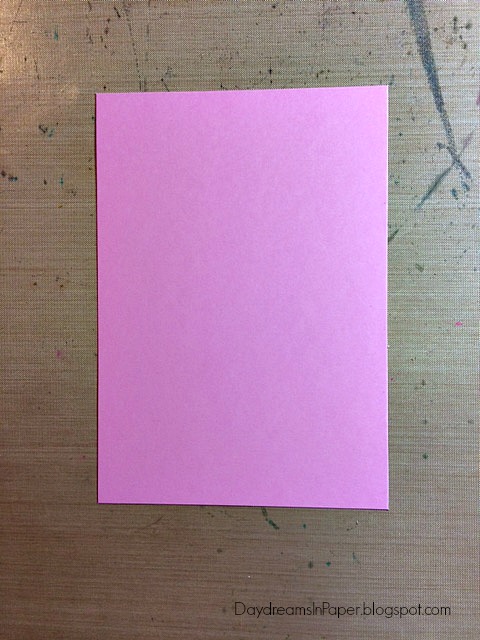
To create the first panel for the card, I cut a 4" x 5" piece of MFT Cotton Candy card stock.
I create a fun background using Simon Says Stamp's Drawn Hearts stencil and ink over the stencil with My Favorite Things Cotton Candy ink and Simon Says Stamp Teeny Bikini dye ink.
Next, I use the largest (3-1/4" x 4-1/2") My Favorite Things Cross-Stitched Rectangle die to complete the first card panel.
For the next panel of the card, I use the 2-3/4" x 4" cross-stitched rectangle die from the same My Favorite Things die set and place the Simon Says Stamp Clipping Heart wafer die in the center of the rectangle. The clipping hearts die fits perfectly inside the rectangle.
Now that the piece is cut, I save all the heart pieces and frame from the clipping hearts die. I ink the clipping hearts with Simon Says Stamp Hollyhock hybrid ink.
I ink the large hearts with Simon Says Stamp Cotton Candy hybrid ink.
Lastly, I ink the small hearts with Simon Says Stamp Twirling Tutu hybrid ink.
To put all the pieces together like a puzzle, I need backing behind the die cut piece so I cut another 3-1/4" x 4-1/2" cross-stitched rectangle.
Here, you can see the panel with the backing ready for the pieces to be put into place.
First, I add the heart frame inside the cut out piece.
I add the large hearts next.
Lastly, I add the small hearts to complete the second panel for the card.
I adhere the stenciled panel to the die cut panel at an angle.
I adhere that panel to a 3-7/8" x 5-1/8" piece of My Favorite Things Ripe Raspberry card stock.
For the sentiment, I stamp on the word "YOU" from the Simon Says Stamp All My Love stamp set in the bottom right corner of the stenciled panel with Ground Espresso archival ink and add the Love 2 wafer die cut above it.
To finish the card I attach the completed panel onto an A2 (4-1/4" x 5-1/2") top folding card, add a few clear sequins and my card is finished.
Thanks so much for sticking around to the end. I really appreciate you taking time out of your busy day to pop over and see what I've created. I do hope you found something useful and got inspired to create your own beautiful cards for that someone special in your life.


So pretty. Thank you for sharing!
ReplyDelete